Hi all! Today is the day that I decided to change up my look! I have always considered my hair just another accessory, so I have never had a problem with cutting or coloring my hair, because it’ll grow. My hair is thick and grows fast, so even if I didn’t love a particular hair style, I knew my hair would grow quickly, and I could change it in a couple of months.
I naturally have straight hair, but I can encourage its natural wave with some scrunching, product, and letting it air dry. My favorite way to wear my hair (no matter the length) is styling it with a curling wand or a curling iron. I LOVE beachy/natural looking waves and texture.
Now, for those of you who are in your late 20’s or older, I know that the term “perm” is a scary one. Most of us got one, and most of us do not let pictures of us with said perm to see the light of day, because they were awful. The smell alone was just a several day reminder that you did something that damaged your hair, and it probably wasn’t a good idea. Don’t worry, the American Wave is not your traditional perm.
I first heard about the “American wave” after reading
an article about Julianne Hough receiving one to have beach waves all the time, and I got super excited about the idea! A few months passed, and I stumbled upon
Verde Salon in Collingswood, NJ! Not only are they close to my house, in a town that I adore, but they are an American Wave certified salon! I had a consultation (and a haircut) with Sammie, one of their stylists who has performed several American Waves already. She said all of the right things “beach waves”, “wash and go (with a little product)”, “semipermanent” meaning that it goes away after 3 months, so you don’t have to wait for it to grow out of your hair, and it’s also no more damaging to your hair than getting highlights.
One of my friends, Rachel Bruce gave me the great idea to document my process of getting the American Wave (thanks Rach!). So, I made sure to take a few before selfies, so you could see the difference at the end!
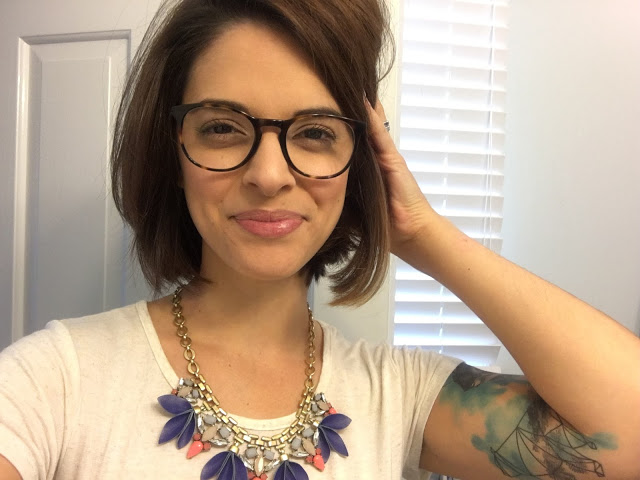
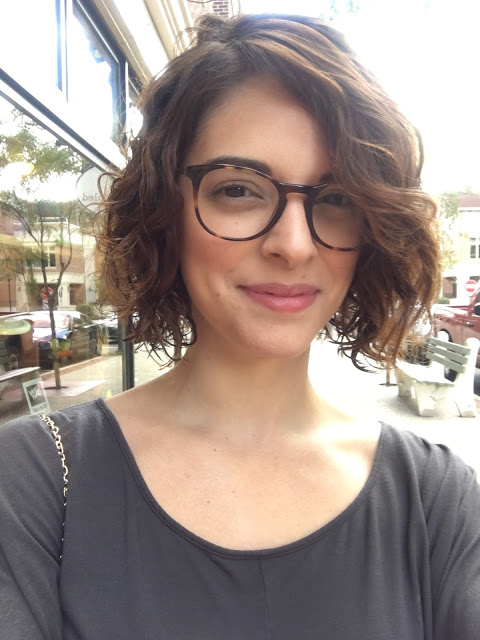
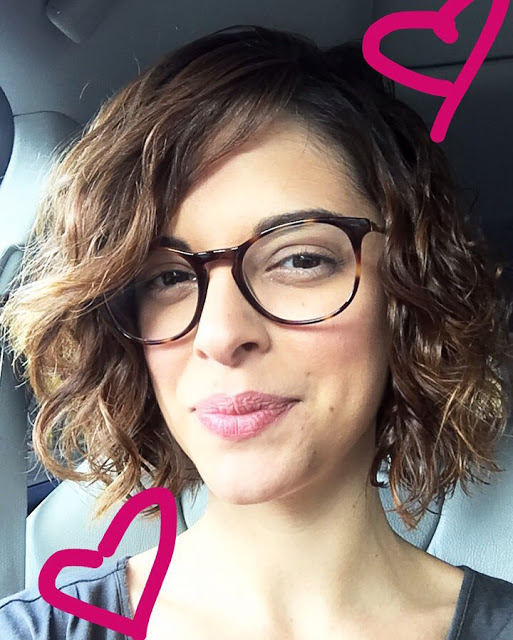
Here’s my hair straight (just a quick 5ish minute blow dry with a flat brush and some styling cream)
I wasn’t having a great hair day the other day, but here’s my hair curled with a curling iron.
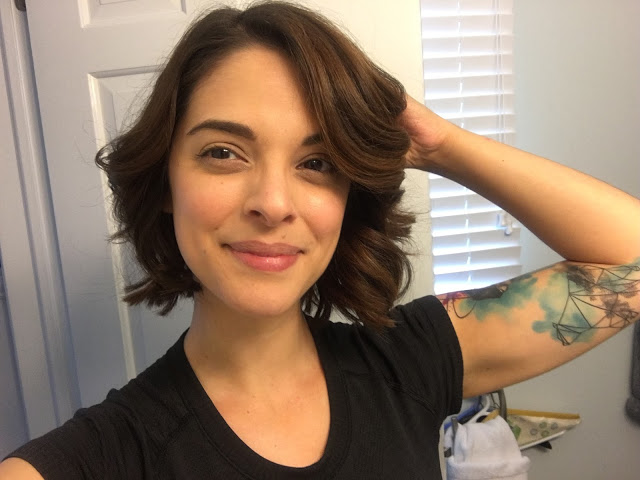
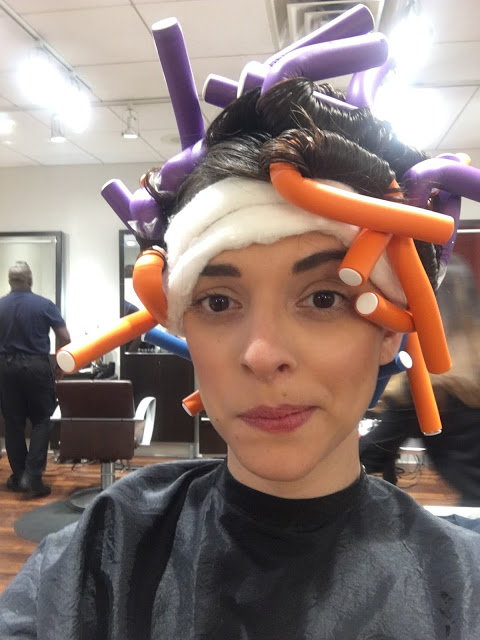
Alright, so this afternoon, I got to Verde Salon, and met with Sammie Jacoby. She asked me if I had any other questions about the American wave, before we got started, and then explained the process. She started out by washing my hair, and then after it was wet, she put it in these crazy awesome “rollers”.
She put a band of cotton around my scalp, so that when she applied the Wave mixture, it wouldn’t drip all over my face.
This was my “I feel like Medusa” face, but I’m still excited!
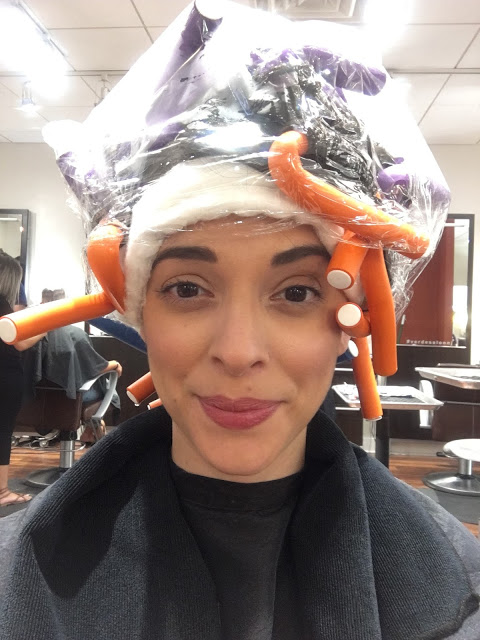
After applying the Wave mixture, she wrapped my head in a plastic bag and plastic wrap!
Sooooo sexxxxyyy (still worth it).
Then, after sitting for about 10-15 minutes, she rinsed my hair, blot dried it a little, applied more wave mixture, sat for five minutes, rinsed it again, and then took the lovely purple and orange curlers out!
Sammie then ran her fingers through my hair, shaking it out and loosening the curls a little, and had me sit under a dryer for a few minutes. After that, she sprayed my hair with a sea salt spray, and then…
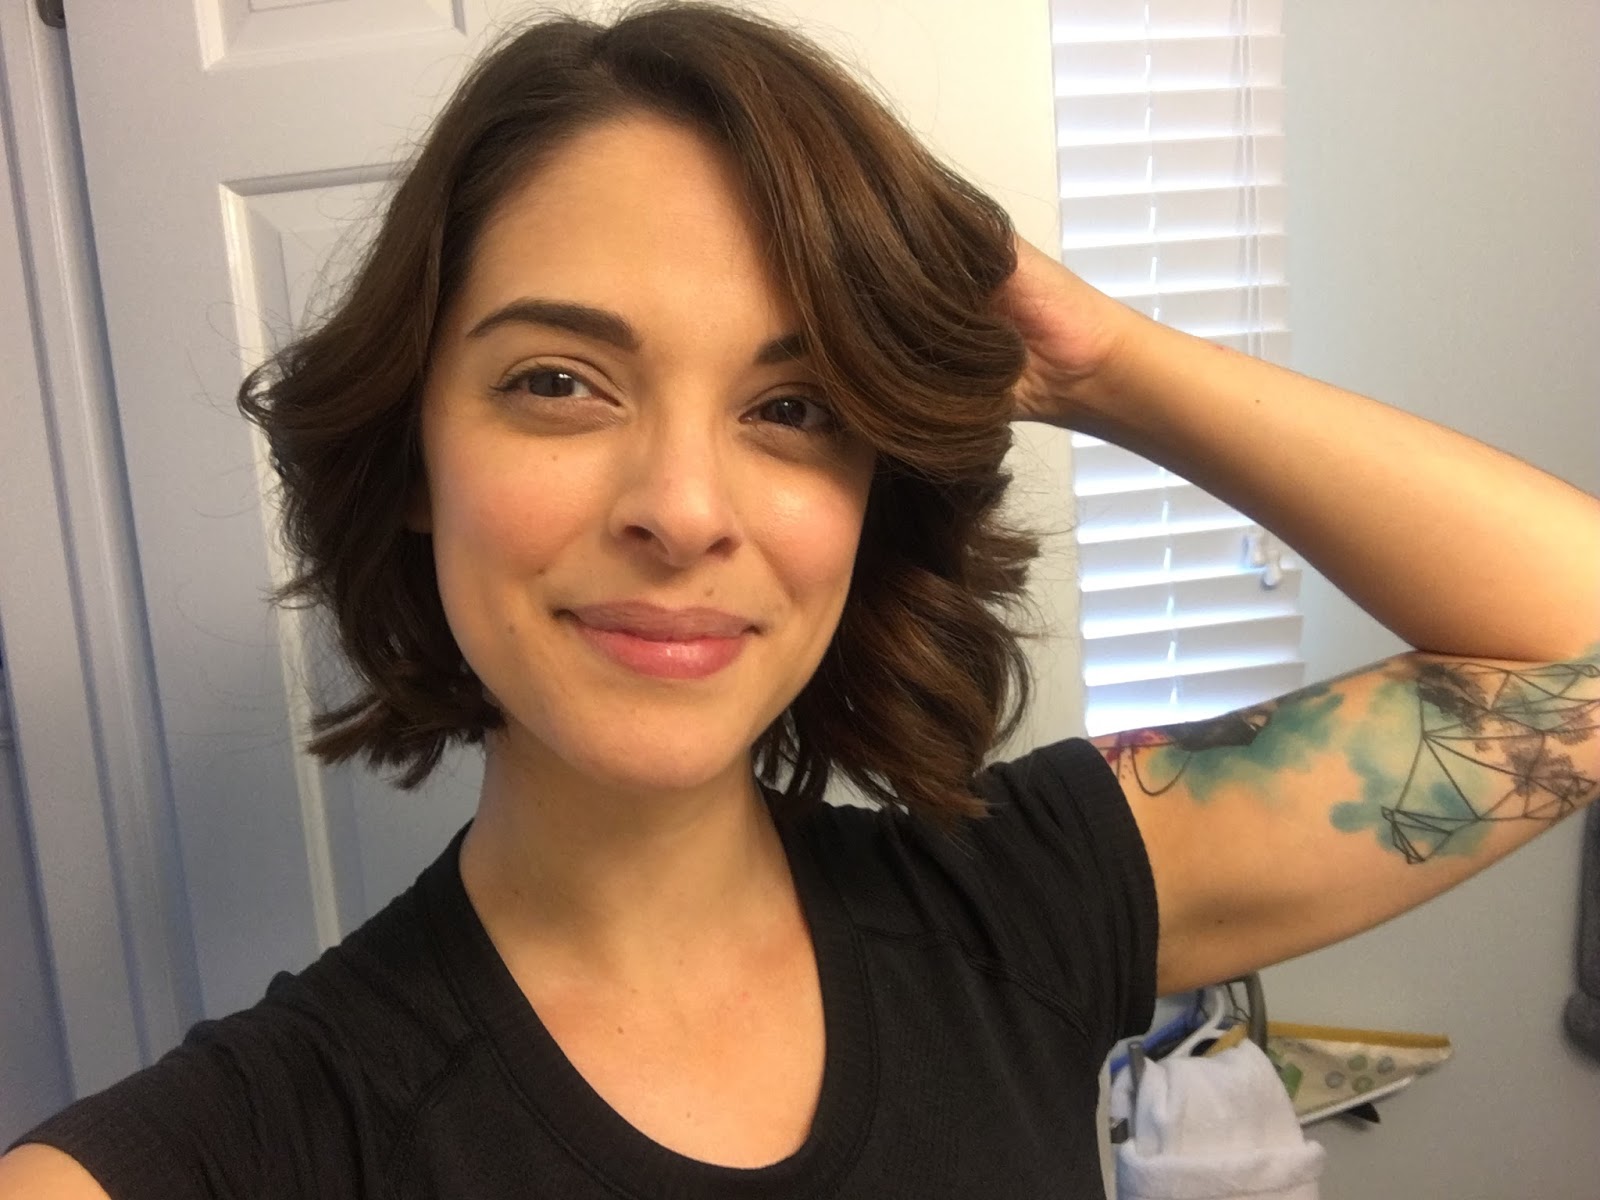
Super cute, beachy waves!!!
There are so many great things about this, I’ll try not to ramble on for much longer. My hair can finally air dry and have even waves without drying frizzy. Also, I can still blow it out with a hair dryer and round brush. I can also make the waves look a little bit less messy by using a curling iron on sections of it. Or, I can just wash it, spray some Arrojo sea salt spray, run my fingers through it, and continue on with me day! So many options!
I hope that this answered some of the questions that you may have had about the American Wave, but if I left something out, feel free to comment or message me!
Also,
let’s go shopping together, so I can show off my awesome new hair… just kidding, let’s go shopping together, so that we can show off how great you look!
